Handbag Tutorial
How to create the following handbag:
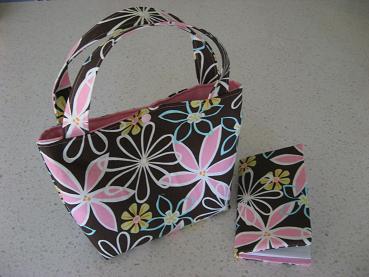
Cut 2 outer fabric and 2 inner fabric and 2 straps (or one long strap).
Measurements approx 31cm wide tapering to 28cm to the top of the bag by 28cm high with a 5cm by 5cm square cut out of each bottom corner.
You can make the bag higher but make sure you still slightly taper, my preferred size is 31cm wide tapering to 26cm by 36cm high. The following bag was made for my niece who doesn’t have as much things a mummy does to fit into a handbag hence why it is slightly smaller.
Straps approx 45cm long by 7cm wide (or measure a bag you already like to check handle length). I often make one long strap 90cm long by 12cm wide. Note the width will be folded in half and includes cm’s for folding in.
You should end up with pieces like this:
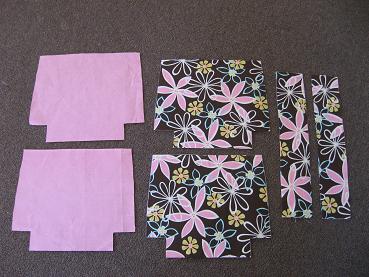
Use iron-on interfacing on your outer pieces and your straps.
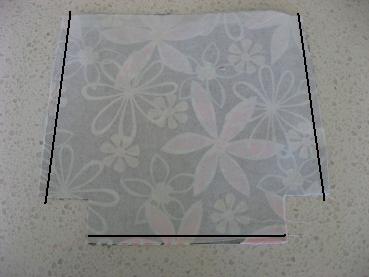
Sew your 2 outer pieces right side together as shown by the dark lines on this picture:
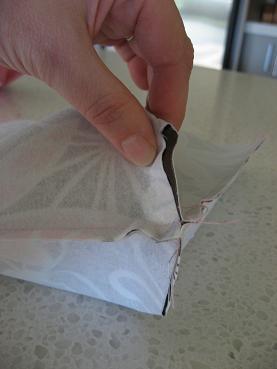
Next sew up the base of your outer bag:
If you would like a pocket on the inside of your bag add it now to the right side of your lining. This bag shows an example of a pocket:
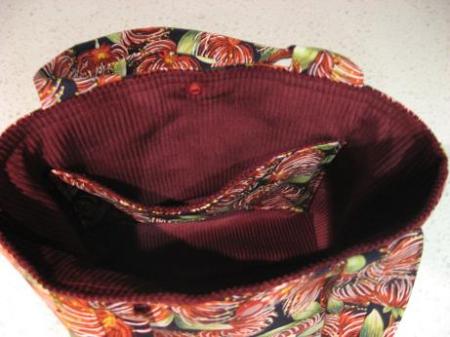
Repeat with the lining fabric.
Now turn your outer fabric in the right way and put your lining inside of your outer fabric like so:
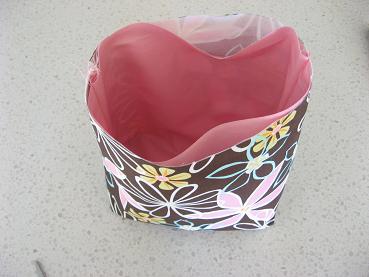
Nearly there!!!
Now fold down the top of your bag and pin, you will be sewing around the top of this so make sure both the outer & inner bag fit together perfectly, if the inner is slightly too big then take it out and make smaller at each side.
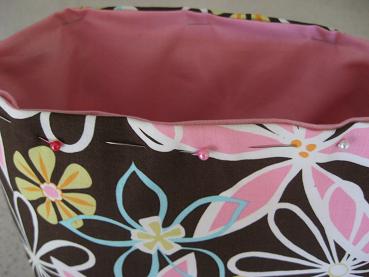
Now make your straps.
Fold over each side about 1cm and iron in place then fold the entire width in half and iron again.
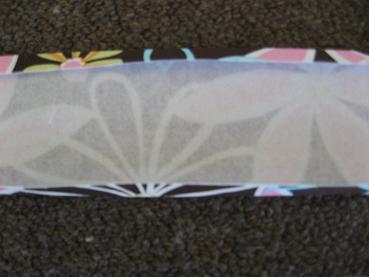
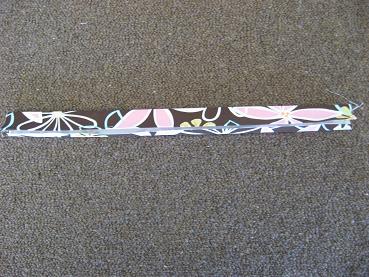
Now sew the strap closed. I sew both sides just so it looks nice but you don’t have to.
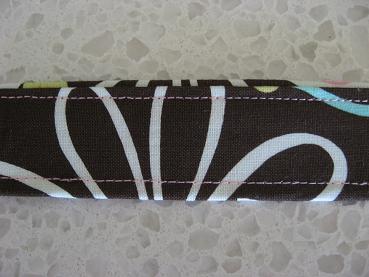
Repeat with 2nd strap, make sure both straps are the same size.
Add the straps to the bag, making sure both straps are evenly placed on the bag.
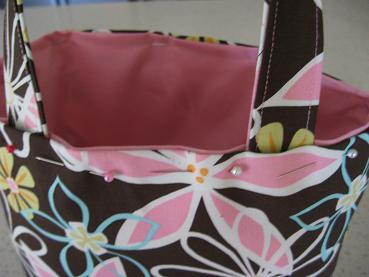
Top stitch the entire way around the bag, you can triple stitch over the straps if you want to make sure they are secure. I have added a snap on this bag but you don’t have to. There are other ways to close a bag, either using a button & elastic (sew elastic into the bag when topstitching then put the button on the other side of the bag on the outside) or sew some velcro on the inside of the bag at the top, or don’t use any closures at all.
And you are done!

Please also see my tutorial for a matching notebook cover, great for writing your grocery shopping list in!
September 7, 2009 at 4:13 pm |
Hi Natalie
Thanks for the pattern, the blog looks great – keep the patterns coming.
Love Chris
April 7, 2010 at 5:24 am |
I have often looked at this and the fabric you used for the first bag. I really really like it. Canyou please tell me the name of of it and where you got it? Im guessing the USA ?????
Thanks hepas
April 9, 2010 at 10:58 am |
can’t remember what it’s called but it’s from craftersvision.com 🙂 Yep in the USA, not bad on postage think I got about 7 yards in one package.
May 27, 2010 at 11:12 pm |
that is lovely!! i also LOVE the fabric and i’m not normally a flowers girl 🙂